Picked up a new Wunderladen Racing PCV Oil Catch Can for your 2022+ Honda Civic 1.5T or 2023+ Acura Integra 1.5T, but aren't sure how to install it? Don't worry, we've got a whole, step-by-step guide that even the most novice DIY-er can tackle.
Pardon the pollen on the engine bays; it's relentless down here. So relentless that our eyes are not only watering from the pollen itself, but from the fact we can't keep our cars clean to save our lives.
Before we begin, it is important to note that if you are running a Front Strut Tower Bar, that it will need to be removed prior to installing this catch can. It may be reinstalled after.
Tools needed:
- 10mm socket
- 12mm socket
- 10mm wrench
- Flathead screwdriver
- Hose clamp pliers
- Pick
Your kit should have come with the following:
(1) Catch can (circled in purple)
(1) Petcock drain (circled in green)
(1) Mounting bracket (circled in blue)
(2) Vacuum hoses (short and medium hoses)
(1) Oil drain hose (long hose)
(1) Oil drain fitting (circled in yellow)
(2) Spring hose clamps (circled in pink)
(2) Worm hose clamps (circled in orange)
(1) Rubberized P clamp (circled in brown)
(3) M6x12 bolts (circled in red)

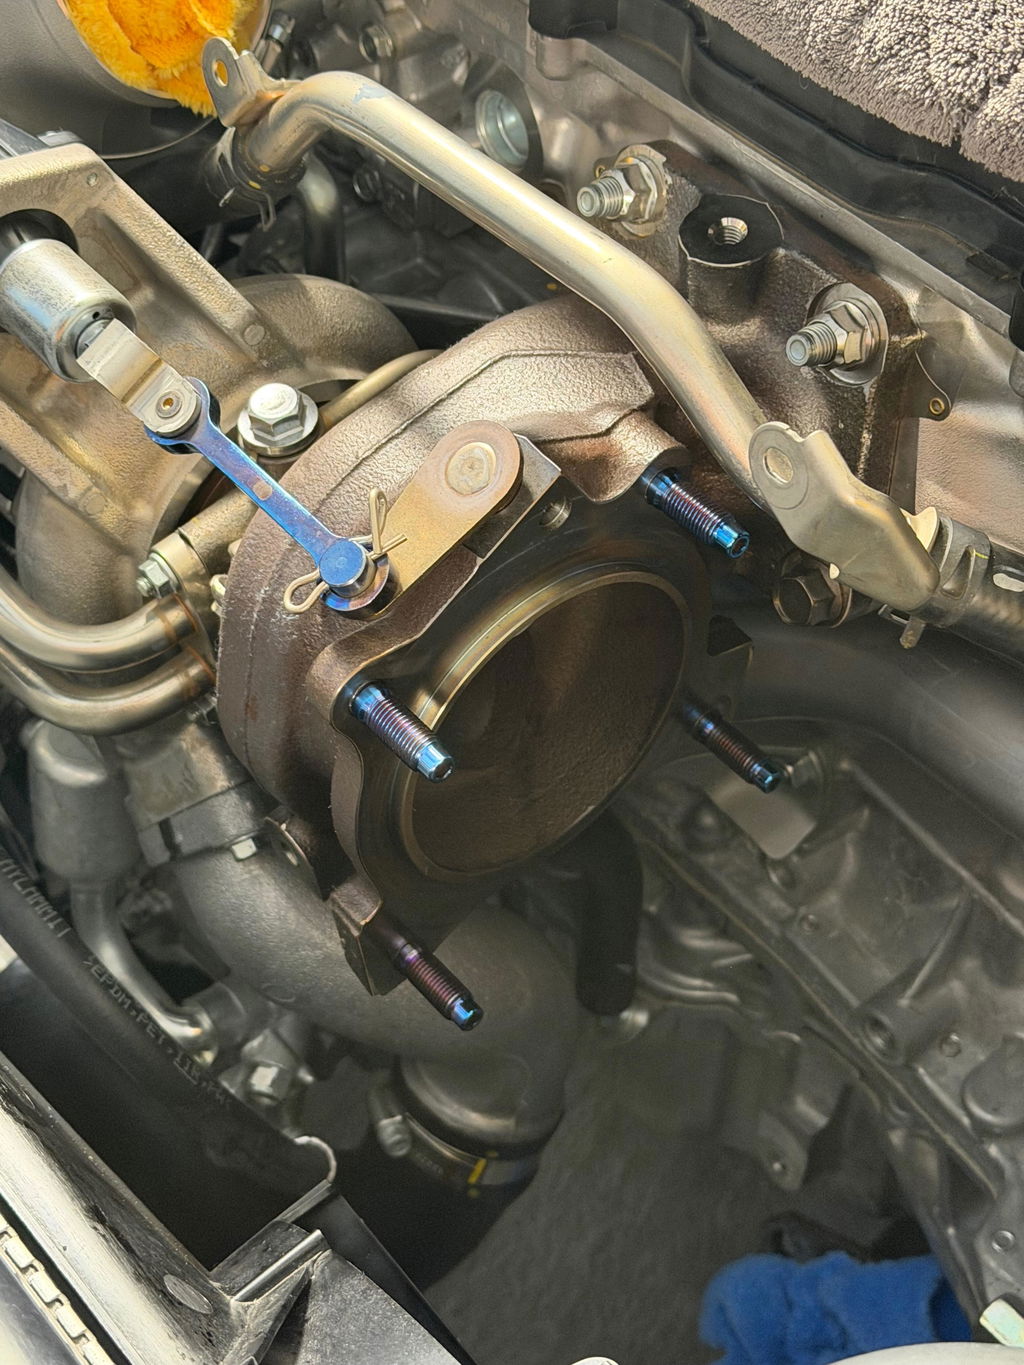
Upon opening the hood of your vehicle, you will see a whole big jumble of hoses and wires, thanks to modernization.
To simplify things, here are the points of interest:
- Timing cover bolt (circled in red)
- Fuel hose (circled in yellow)
- Intake manifold port (circled in blue)
- Valve cover port (circled in green)

Step 1. It's best to go ahead and "prep" the catch can ahead of time to help make the install more of a breeze. Go ahead and grab the catch can and make sure the drain valve is closed via the lever. Once you have verified it is closed, thread in the oil drain fitting. Keep it a little loose until later so you can angle it how you wish.
Step 2. Next, you will need both vacuum hoses and worm hose clamps. The hoses may be a little difficult to press on, so you can use a heat gun if necessary. The short hose goes on the top port, and the medium hose goes on the bottom port. After the hoses are on fully, use a flathead screwdriver to tighten the worm hose clamps against the top and bottom ports.
Step 3. Now we get into the real fun. You will need to remove the vacuum hose connecting the valve cover to the intake manifold. There are two spring hose clamps that keep these in place. Once those are removed, you can simply pull the hose off with your hands and/or a pick. (I say "simply"...they can be annoying to get off. Twisting helps.)
Step 4. You should have the hose removed, place it to the side. You won't need it again, but hold onto it in case you revert to stock at some point. Starting with the top, shorter hose, you will want to connect it to the intake manifold port, and secure with a spring clamp. Using the medium hose on the bottom port, secure the hose onto the open valve cover port with the other spring clamp. At this point, you may let the catch can rest wherever you can lay it - we will come back to it later.
Step 5. Using a 12mm socket, you will need to remove the indicated bolt on the timing cover plate. Once that has been removed, grab the supplied mounting bracket, and put the bolt into the side with 1 hole. Loosely thread in the bolt - you want to be able to move this later, if needed.

Step 6. At this point, you will need the rubberized P clamp. Wrap it around the fuel line and use one of the supplied M6 bolts to secure to the other side of the mounting bracket. This will go into the hole with threads on the back. Don't tighten this down all the way, either. Keep it threaded enough so it doesn't come off, but loose enough to adjust.
Step 7. Remember that catch can you put to the side? You will need that now. Using the other two M6 bolts, align the mounting bracket to the threaded sections on the catch can. You may tighten these down all the way at this point.
Step 8. Using your 10mm wrench, tighten the bolt pressing the P clamp against the mounting bracket. Be sure to not put stress on the fuel hose. The point of this clamp is to the fuel hose does not rub against the catch can in any way. Once you have it where you want it, tighten it down all the way.
Step 9. Backing up to the timing cover bolt, you will want to adjust your bracket to where there is no tension on any of the hoses, or an opportunity for friction. If you are running a Front Strut Tower Bar, now would be a great time to double check clearance on that. Once you are happy with the fitment, you may tighten this bolt all the way down (24 ft/lbs).
Step 10. Finally, go back to the petcock drain at the bottom of the catch can, adjust the oil drain fitting to an angle that does not interfere with the alternator, and tighten. You may also put on the long hose at the bottom of the fitting at this time, and route as desired - be mindful of moving parts! One way is by routing it by the steering rack and lower control arm, but there are multiple ways to do this. When not in use, the drain hose may be tucked out of the way. It is recommended to check it at every oil change.


Two Step Performance was founded in 2017, preceded by a lifelong passion for modifying and driving turbocharged imports. We began with a small assortment of handpicked brands that we have personally used and believed in. As the company and the community around us have grown, we have continued to add carefully selected product lines to our catalog. In addition to offering brands that you already know and trust, one of our favorite things to do is to identify innovative new products and emerging brands and add them to our catalog as well. We only sell products that we believe in. We also take great pride in offering the best experience to our customers every step of the way. If we can help answer questions on your next build, give us a shout on our contact page.