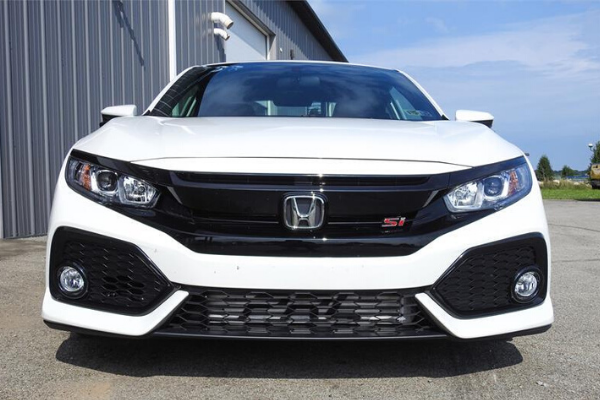
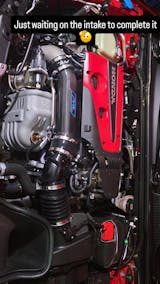
Are you interested in installing the PRL Motorsports FMIC for the 10th Gen Civic? Two Step Performance is a proud PRL Motorsports dealer and today we will show you how! Total time required is approximately 3 hours, depending on what kind of pace you work at and whether you have any help or not.
First, you must remove the front bulkhead cover:

The next step is optional, but recommended to protect your car from damage while removing the bumper cover:

Next, you will raise the car and remove the fasteners that secure the bumper cover to the bottom of the car. Our example shows a sedan, but your car may vary a bit depending on what lip you may have on the car, etc. Do not forget two screws in front of each of front tire.

Your next step is to carefully pull the cover away (starting at the wheel wells). As you are pulling, you will expose retaining tabs along the way that you will need to carefully release to prevent damage.

You will now remove the three remaining clips up top.

Finally, you will depress the retaining tabs above each headlight with a flat head screwdriver and the bumper cover can be pulled away from the vehicle. This is best done with an assistant, but can be done alone.
If you have fog lights, please be sure to unplug them before pulling the bumper cover completely away from the vehicle.

Now that the factory intercooler is exposed, you will begin removal. The first step is to remove the mounting on the right side, and disconnect it from the charge pipe.

Next, disconnect the intercooler connection on the left side.:

Now you will remove the mounting bracket on the left side. This bolt is a little harder to get to, it is behind the connection that you just unbolted.

You should now be ready to remove the intercooler and place it aside. You may need to remove some of the plastic shrouding before it will come out.

Next, you will continue removing the intercooler piping on the left side:

Next, disconnect the charge pipe on the right side (from the top of the engine bay).

Now, disconnect the coupler at the throttle body:

There are two bolts that secure the charge pipe to the engine, remove them:

You can now unplug the two sensors on the charge pipe an remove it.

Once out, carefully transfer the sensors to the new charge pipe.

Back to the left side, you can disconnect the hose at the turbocharger outlet:

Follow this hose left and then down. You will find a bolt that secure it in place. You may need a fairly long extension to reach it. Remove this bolt:

You should now be able to pull it out through the top. Begin assembling the new intercooler piping. It may take a few tries to get it lined up correctly. Below is a photo of what you are aiming for on the left side:

This will go in from the top and then secure to the turbocharger. You will have to secure the hose clamp before you insert it the engine bay, because it will not be accessible afterwards.

Now you can mount the new intercooler core with the OEM brackets and rubber mounting feet:

Continue installing the charge piping and securing the couplers with hose clamps.


We were able to maintain all of the factory shrouds with the exception of the piece that went across the top of the OEM intercooler.

Next, you will carefully re-install the bumper, in the reverse order of how it was removed.

Enjoy your new upgrade!
Purchase Intercooler Kit Below!
https://twostepperformance.com/products/2016-honda-civic-1-5t-front-mount-intercooler-kit


